Sunday, October 10, 2010

Butterfly Wings

So it's almost Halloween! I'm so excited, so what have I been doing for the last couple of days...I've been coming up with ideas for my daughters Halloween costume. I finally decided on a ladybug (it's been her theme all year, so why not!) now how to make it into a costume. I want something cute so I decided that I would make some butterfly wings and make them red with some black dots on them. I know not quiet a ladybug but I'm hoping that when the whole thing is done that people will get the idea and hopefully understand that it's a ladybug...but we shall see.

Anyways as of right now I have my wings done and thought that I would show you how to make your own. These wings fit my 14 month old to the dot. I simply used 1 hanger for each wing. So if you plan on using these for a bigger child then understand that they may be smaller than you wanted or just right if you want them that way. (Please feel free to let me know if you have any questions concerning this project or another and I will try to clarify it. Also if you have something that you would like to know how to do, I will do my best to experiment and see if I can help you out. I love to create!)

Enjoy!


Bend the hangers to the shape that you want them. Cut off the hook ends and do your best to bunch up the loose wires. This will hold your two wings together.
This is how my bunch turned out.
I used some knee high nylons and put them around my hangers.
Then I tied the ends of the 2 knee highs together in the middle over my bunch of wires. This is a picture of the knot made with my nylons.
This isn't a great picture but it's what the wings look like with nylons on them. I could still see the wire through mine so it might be desirable to add a couple more layers of nylons and tie your middle know at the end. If that's the case though you will have to experiment, I didn't do that.
Here I hot glued the extra nylon to fit around the wire. This way it took the shape of the wire as can be seen in the next picture.


And if you want to end there simply tie and or hot glue your elastic to your wings and you're good to go!


However I added some fabric to the outside of my wings because I wanted them red. Soooo I cut the fabric (doubled) to slightly bigger than my wire.
Now I was lazy and in a hurry so I hot glued it, but it would probably look better if you sewed it. Whatever works for you. So I hot glued my fabric all the way around my wings. Then to make a better looking edge I hot glued some ribbon around the edges and added a great big bow and some dots (with a black marker...again I was lazy, but hey it's just Halloween right?) for my ladybug effect.
She wouldn't stop moving and trying to get them off! Haha.
And those are my wings what do you think?


Thursday, October 7, 2010

Hair ribbons and bows

So I have been asked to show you all how to make some cute hair ribbons and bows, and since I've finally been able to get my ribbons and hot glue gun out I'm ready to go. Now I've realize that it's kind of hard to show how to complete a project with pictures and words online but I will do my best. As I try to keep up with this blog maybe I will get better, but if you don't understand a step, please let me know and I will try to clarify! Alright, here goes nothing =)

So I don't have any flowers today so we will make some bows. First you need some ribbon. How much is up to how big you want it, so for this project just grab a role, or at least a yard. And don't forget your glue stick and plenty of glue. If you're going to make this a bow clip you will need some clips. I bought mine from Sally's Hair Salon. I'm pretty sure that you can buy them from any hair accessories place so just look around. 

Let's get started.

This is the clip that I will be using.
To start fold your first piece over like this. Make sure to burn your ends so your ribbon doesn't fray. Also leave a little tail so that you can see the end when you're done.
When folding with a one sided ribbon, make sure that your design is on the outside.

Your bow should have 4 loops. Keep in mind it doesn't look like a bow yet but now simply put some hot glue between each of the layers. Not to much, you don't want it to bunchy, just enough so that it all sticks together and keeps its shape.

It should look like this when it's all glued together and your ends are cut to the desired length and melted to keep them from unraveling.

Now this parts kind of tricky, but it doesn't have to be perfect. Fold your bow in half towards you and add a drop of glue in the center. Now when you fold down the sides away from you it should look like this picture.

Keeping your bow together- glue a piece of ribbon to the back and bring it all the way around as shown. Glue on your clippy so that part of the ribbon will be covering some of the medal (as shown below). This holds the clip in better than just gluing it onto the outside. You can end here or add a little design to the middle of your bow.


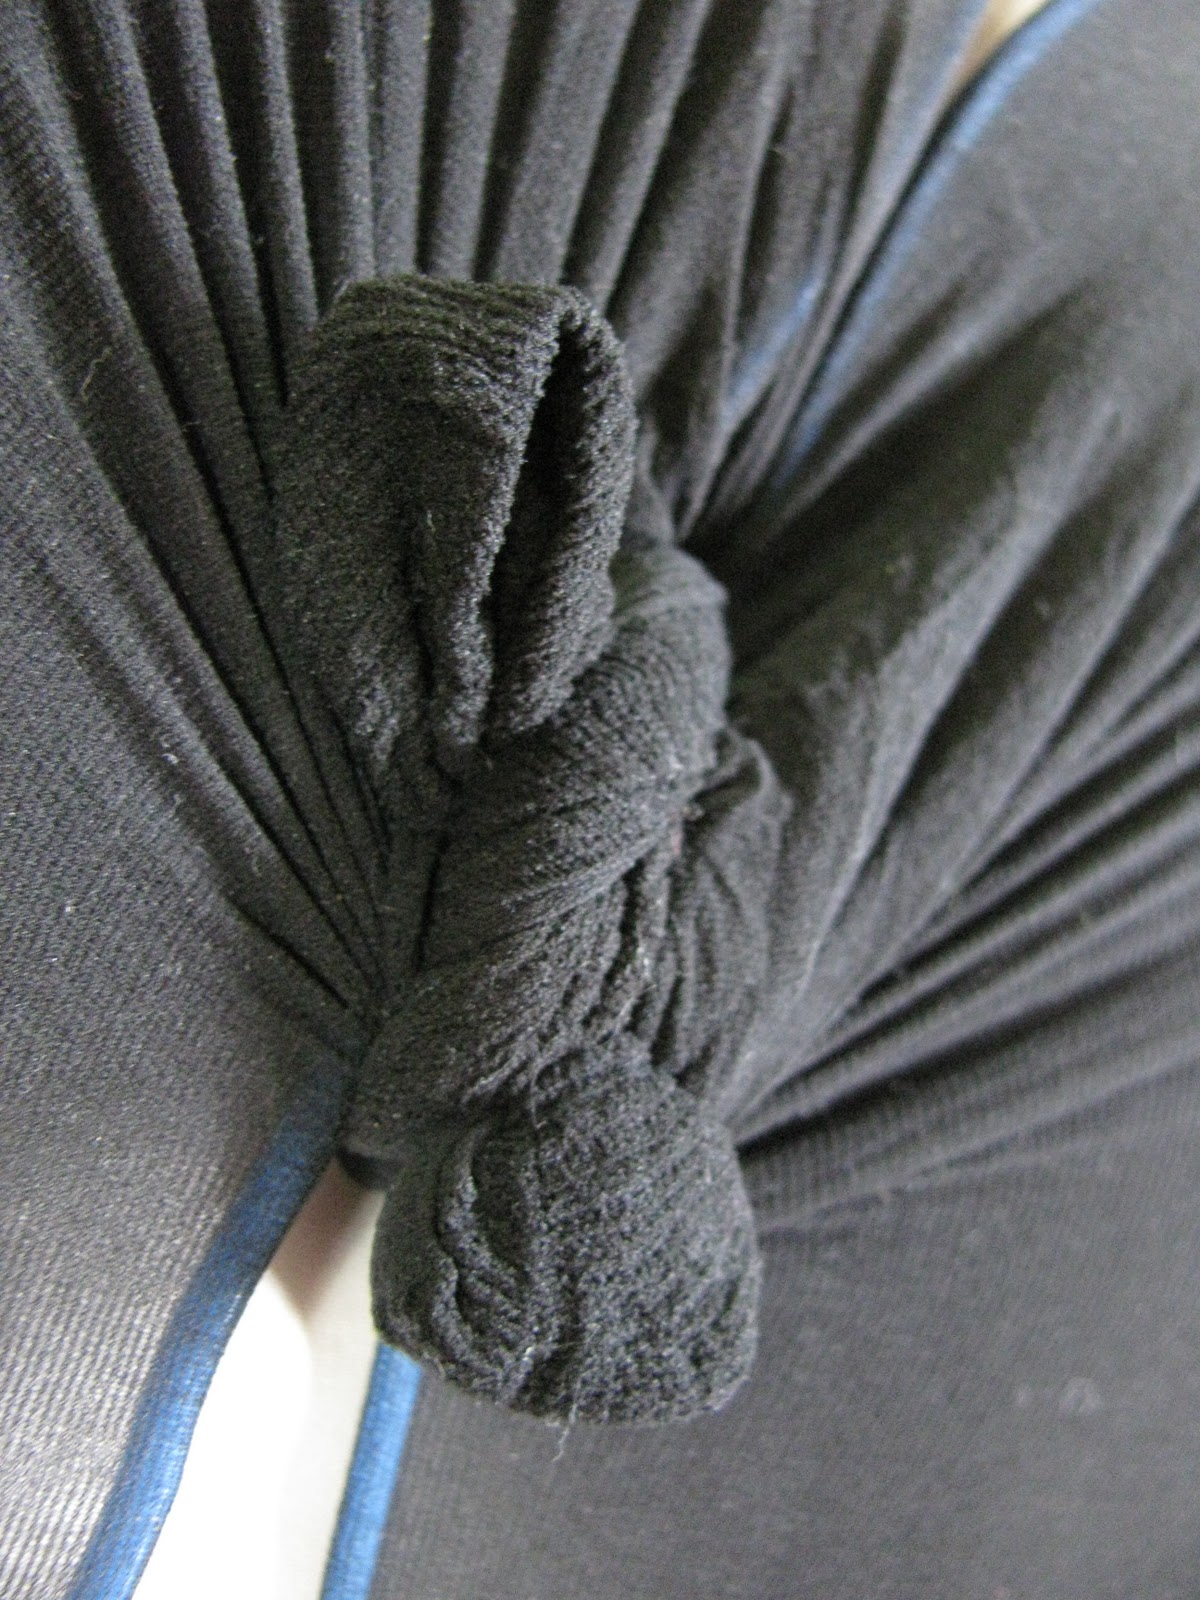
Here, after gluing the clip on, i continued my ribbon around and just twisted it to give it a little design. Another cute touch would be to tie it into a loose knot instead of the twisting. And then cut and burn the end of your ribbon (stop the frays) and glue it in the back somewhere to hide it from the front view.


Friday, October 1, 2010

Ladybug Pinata

My little girl turned one this year so I decided to do a ladybug theme. I knew that I wanted a Pinata and after searching everywhere for one I gave up and attempted my own. It's not store bought but it worked for what we wanted to do...soooo I cut out some cardboard in the shape of an oval plus the ladybugs head. Then cut out different pieces for the legs and antennas and taped them on. I didn't take pictures of each step but if you have any questions let me know! I cut paper into strips and taped it on. Then I painted it black, however I should have just used black paper. So if you decide to make your own I would pick up some paper that's colored to the color that you want. Then you cut it and tape it on. I also took a 3-5 inch wide piece (depending on how much space you want inside of your pinata) and hot glued it in between the two oval pieces that make the top and bottom of the ladybug. So far I have only attempted this pinata but it worked great! I think when the weather warms up again I shall try something else. Good luck with you experimenting! Oh and don't forget to insert something to tie the string too and to leave a hole in the back to put the candy in! I used a double thick pipe cleaner to tie the string to and it worked well, but if you had a zip tie or something that is stronger and more durable that would probably be better.


WELCOME!!!

I've decided to start this blog as an outlet to contain whatever my little heart desires. Whether that be my latest breakdown, funny story, or a look at my crafty side (pinterest...enough said). I'm a stay at home mom who loves to sew and experiment with crafts. I also have a lot on my mind, so if you would like to see what I have to share, pull up a chair, grab some milk and cookies, and join me on my latest adventure.

Enjoy!
~Ness~